campfire cooking banana smores
Food + Drink

Campfire Cooking: 4 Great Recipes

It’s time to set up the tent and heat up your summer cooking with these four off-the-grid creations courtesy of adventurous Ohioans. 

There’s a certain luxury to roughing it: to-do lists shrink and simplify, the dress code is all about comfort and morning commutes are only as far as you want to hike. After a long day outdoors (or a full night of starlit sleep) even mealtimes can take new shape. Although granola bars, beef jerky and fruit are fine for fueling up along the trail, a blazing fire offers much more culinary potential. We asked four adventurers who take campfire cooking far beyond the humble hot dog to share one of their favorite recipes. All you need is a sturdy skillet or pan and a little planning.

Hearty Fare

After high school and his summers working at Perrysville’s Camp Nuhop came to an end, Chris Clyde wasn’t quite ready to say goodbye to the outdoors. So, he took to the road, traveling and eventually studying adventure education and experiential education at Arizona’s Prescott College.

In 2008, he returned home to become associate director at Camp Nuhop, which Terri and Jerry Dunlap founded in 1974 as a place where kids with special needs could enjoy a summer camp setting designed for them. Even when he’s not working, Clyde takes to the outdoors to camp and cook with his family.

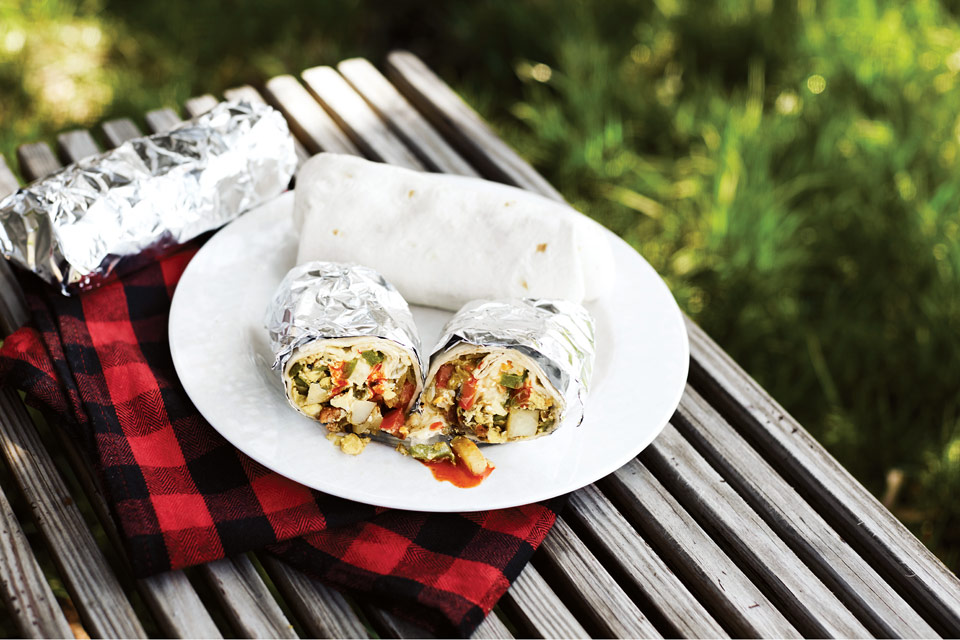
“I’m a big fan of breakfast burritos,” Clyde says, adding that although his are loaded with ingredients, he cuts down on campsite prep by chopping potatoes and peppers in advance.

“[I also] take shredded cheese, so I don’t have to worry about it,” Clyde adds. “I like to put sausage gravy on mine, but I don’t necessarily want to mess around with taking flour, so I’ll go out and buy the powdered mix.”

Clyde quickly sautees his vegetables and scrambles the eggs over the fire.

“[Sometimes] I’ll cook up my bacon before we leave,” he says, “but I love the smell of bacon around a campsite. I just can’t help it. It’s just so good.”

Before wrapping each burrito, he adds one final ingredient: green chilies.

“I lived in Arizona for a couple of years,” he says. “There is nothing like green chilies.” 

breakfast burritos over campfire
Breakfast Burritos | Serves 4

INGREDIENTS
4 burrito tortillas
2 medium potatoes, white or yellow
8 slices bacon
1 yellow onion
2 cloves garlic, chopped
2 green peppers, chopped small 
1 green chili, chopped 
2 small or 1 medium tomato, chopped 
8 eggs or 1-quart carton liquid eggs
1 8-ounce package shredded cheddar or pepper jack cheese
1 package instant sausage gravy
2 to 3 tablespoons olive or coconut oil
Salt and pepper to taste Tabasco sauce to taste

DIRECTIONS
Dice potatoes, and chop garlic, onion and peppers. Place all ingredients into a zip-close bag or plastic container at home. Once at camp, dice tomatoes and set aside. Reconstitute gravy mixture and set aside.

Cook bacon in pan over fire and remove from heat when desired crispness is reached. In a separate skillet, saute the garlic, onion and potatoes in oil until soft. Add green peppers and cook until they are slightly soft. Add eggs to pan and scramble, seasoning with salt and pepper to taste. Remove from heat. 

Over a cutting board or picnic table, place two strips of bacon into each tortilla. Divide egg and vegetable mixture four ways, spooning into tortillas. Add tomatoes, green chilies and shredded cheese. Spoon sausage gravy over the filling. Wrap burritos, and then cover in foil. Replace in pan or set on a grate over campfire for five minutes, rotating halfway through. Remove from pan or grate, unwrap foil and season burrito with Tabasco sauce to taste.

---

Hot Breakfast

When Angie Sheldon and her now-husband, Shane, hiked the Appalachian Trail in 2009, finding fresh ways to keep their meals from becoming drudgery during the more-than-2,000-mile trek took some planning.

“Anything you make at home, there’s a way to make a version of that, whether you’re car camping or backpacking,” says Sheldon, who works as an outdoor recreation coordinator for Five Rivers MetroParks in Dayton.

For the Appalachian Trail, she dehydrated much of the food for the trip and mailed packages to checkpoints along the route. But during her other outdoor excursions, Sheldon makes time to work a little campfire cooking into morning meals.

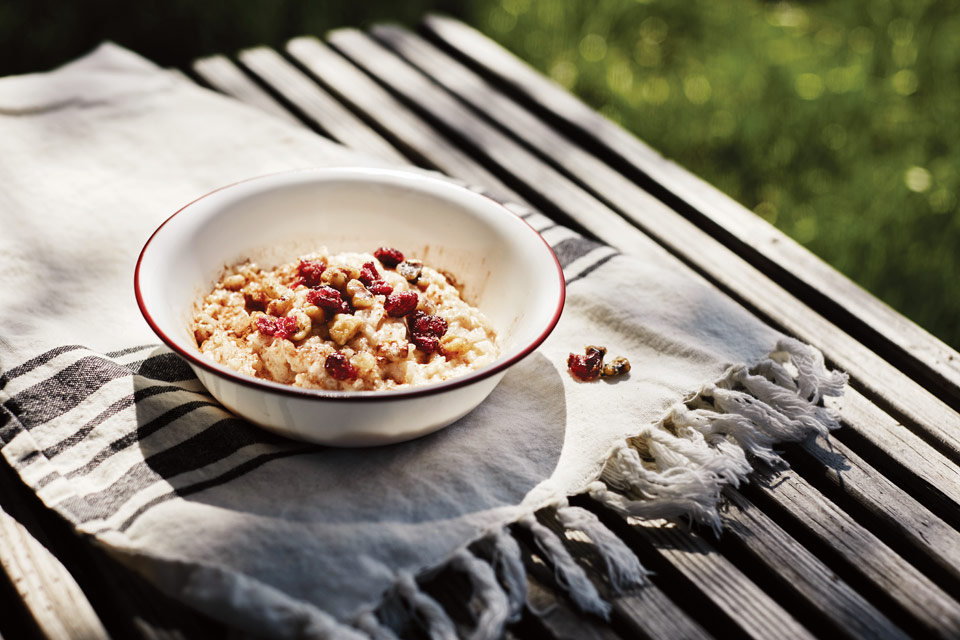
“One of my favorites — and this you could do in a pot or in a freezer bag — is a breakfast rice,” she says. “It’s instant rice, a little bit of powdered milk, and you can add in your choice of dried fruit, or chopped walnuts or pecans, and a little bit of cinnamon and brown sugar, and it’s so good.”

Cooked over a campfire, this creamy, sweet porridge can be served piping hot — an added luxury on a brisk morning — but the recipe has a shortcut version in which Sheldon simply pours a cup of boiling water into a freezer bag with the mix and waits 10 to 15 minutes until it’s ready.

“We started making that in our cooking class [at Five Rivers MetroParks],” she says. “It’s almost always a favorite.”

Breakfast porridge
Breakfast Porridge | Serves 2

SUPPLIES
The freezer-bag version requires a heat insulation pouch, available at outdoor-gear stores and online.

INGREDIENTS
1 cup instant rice
1 cup powdered milk
1 teaspoon cinnamon
4 tablespoons brown sugar
1/2 cup dried fruit of choice
1/2 cup chopped nuts(walnuts or pecans)

DIRECTIONS
Over Fire: Bring 1 3/4 cups of water to a boil in a pan, and then add rice and powdered milk. Stir in cinnamon and brown sugar. Cook for about 10 minutes, or until porridge reaches desired consistency. Remove from heat, top with dried fruit and nuts, and serve. 

In Freezer Bag: Assemble all ingredients in a 2-quart freezer bag at home. When you’re ready to eat, boil 1 3/4 cups of water over fire and add to the bag. Stir and put in a heat insulation pouch, which keeps food warm while it rehydrates, for about 10 to 15 minutes, or until porridge reaches desired consistency.

---

Fireside Favorite

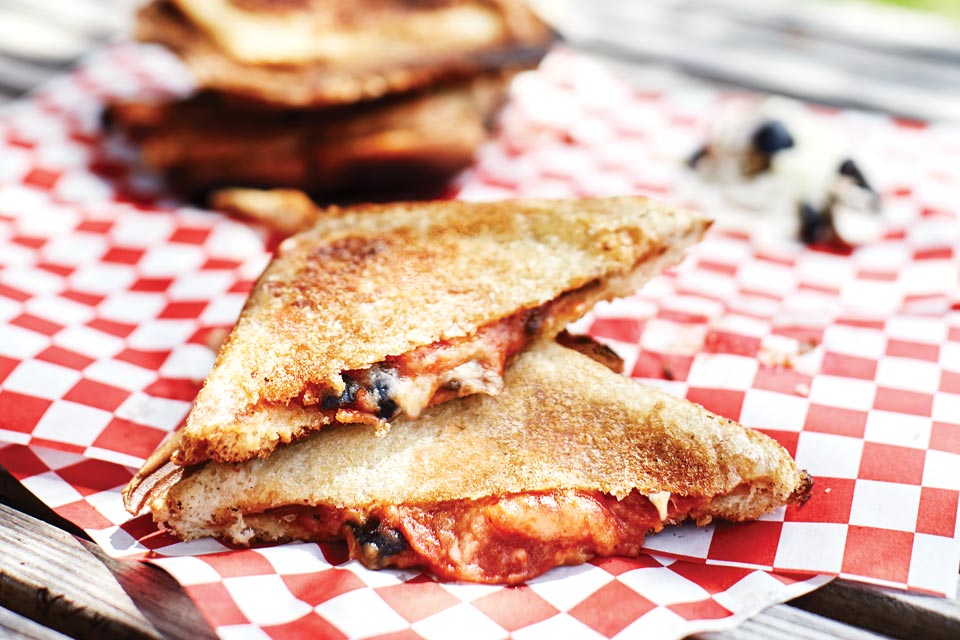
Hobo pies are quintessential campfire cooking: two slices of soft white bread pressed around a berry filling inside a pie iron and then cooked over a bed of coals. The toasty, gooey and sweet result lends itself to wildly creative interpretations, including those made by Ariana Mills, a member of the leadership team at Camp Wyandot, a nonprofit youth camp located in Rockbridge. 

“We refer to hobo pies as ‘pie-iron meals,’ and we have a bunch of different kinds,” she says, adding that such variety comes in handy. “Sometimes, getting kids to eat is actually tricky.”

Fortunately, pizzas are on the short list of foods kids can agree on, and Mills has a soft spot for one particular combination when crafting personal pies.

“At camp, we usually use white bread, but my personal favorite is sourdough,” she explains. “I would have sourdough crust, and then I love olives and cheese and mushrooms and pepperoni.”

The assembly is quick, too. Just smear the two slices of bread with butter, tuck one piece into each side of the pie iron and add pizza sauce, cheese and toppings.

“Then you close the pie iron, and you place it into the fire … down on a bed of coals,” explains Mills, noting that cook times can range from 8 to 10 minutes and should be flipped halfway through. “It’s exciting to show the really little ones that it’s not the flames that cook, it’s the coals.” 

Pie-iron pizzas
Pie-Iron Pizzas | Serves 10 

SUPPLIES 
Pie irons, available at outdoors and camping-supply stores. 

INGREDIENTS
20 slices of bread, white, wheat or sourdough
Butter
1 15-ounce can pizza sauce
1 16-ounce bag shredded mozzarella cheese
2/3 cup black olives, diced 
2/3 cup kalamata olives, diced
2/3 cup fresh mushrooms, sliced 
7-ounce bag sliced pepperoni
Fresh Parmesan, grated (optional)

DIRECTIONS
Butter two slices of bread and place buttered sides against each side of the pie iron. Spread 1 tablespoon of pizza sauce, and then add 2 tablespoons of cheese and a tablespoon each of your desired toppings. Add fresh Parmesan cheese to taste (optional) and top with an additional tablespoon of pizza sauce if desired. Close pie iron and rest over coals for 8 to 10 minutes, flipping halfway through. Remove pie iron from heat and carefully remove pizza from the hot pie iron.

---

Classic Comfort

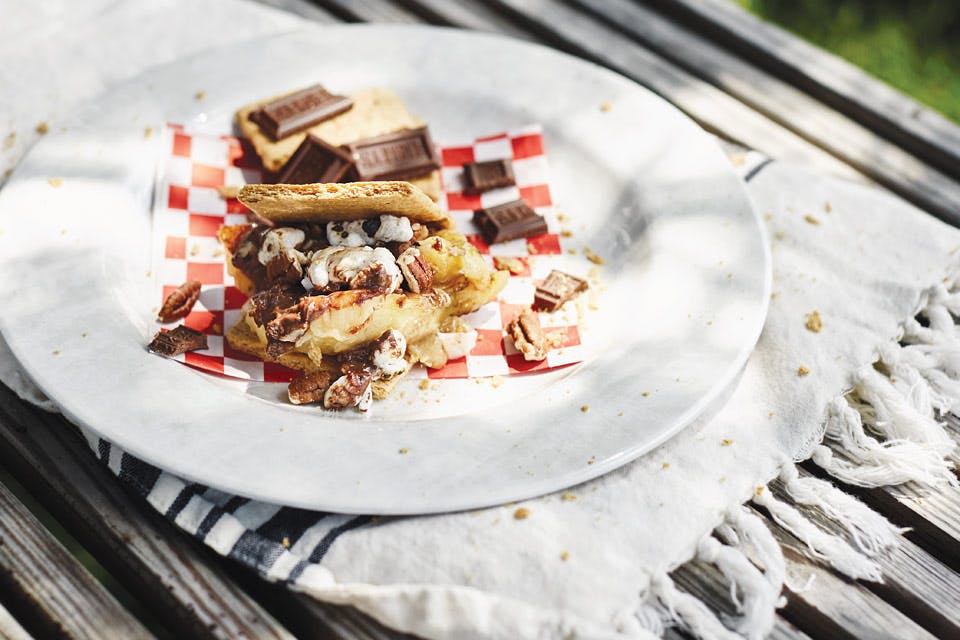
There may be no greater capper to an outdoorsy day than a fire-roasted s’more. While there is plenty of room for funky twists on the classic creation, which features roasted marshmallow and squares of a Hershey’s chocolate bar sandwiched between two graham crackers, sometimes you have to improvise.

When William Davis, an avid camper and chef at the Loretta Paganini School of Cooking in Chesterland, found himself in the woods without graham crackers, he went off script with delicious results.

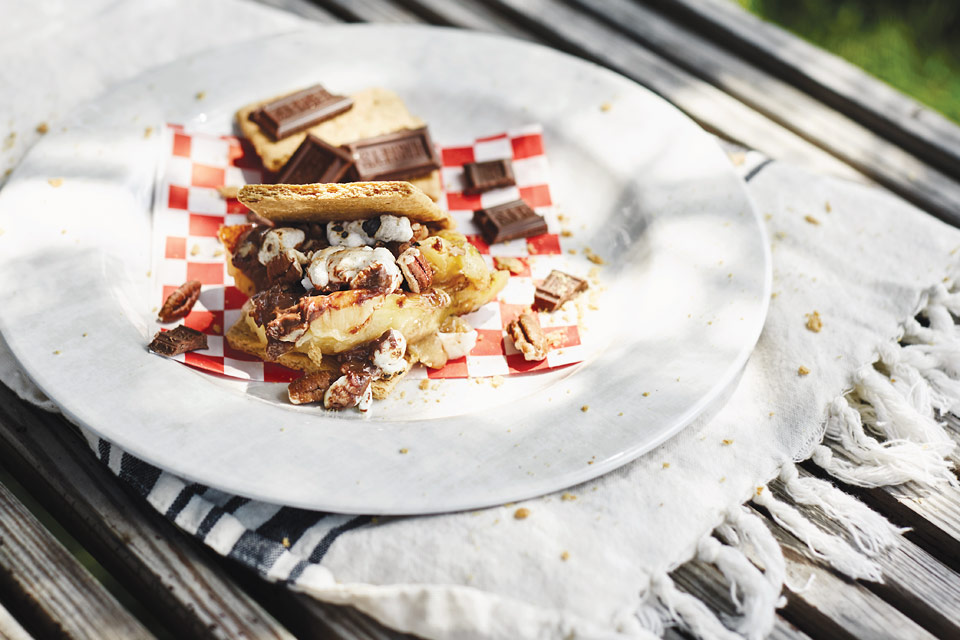
“That was actually a collaboration between myself and a fellow camper,” Davis recalls. “We split the banana down the center and put the fillings we had inside the banana, and then just put it right by the fire and let it melt.”

Davis makes sure not to cut the banana completely in half when splitting lengthwise, and he keeps the skin on as a sort of container for the ensuing gooey goodness. After adding the chocolate squares and marshmallows, he wraps the whole thing in aluminum foil before cooking.

“I think it’s that classic Hershey’s [flavor] that makes it a s’more,” says Davis, who sets the foil by the fire or on a cooking rack above it for as little as five or as many as 15 minutes. “Luckily the [banana] skin is a protectant,” he adds. “So if the skin burns, everything on the inside is still delicious.”

Banana s'mores
Roasted Banana S’mores | Serves 2

INGREDIENTS
2 bananas, in peel
1 Hershey’s milk chocolate candy bar, roughly chopped
2 large marshmallows
1/4 cup pecans
2 graham crackers (optional)

DIRECTIONS
Split the two bananas lengthwise without cutting completely through the bottom of the peel. Pull apart each banana, again taking care not to completely separate the halves. Stuff the inside of each with pecans and pieces of chocolate. Cut the marshmallows into pieces and sprinkle on top of the nuts and chocolate. Place each banana in an aluminum-foil boat, cover and set next to the fire or on a roasting rack suspended above the coals. Cook for 5 to 15 minutes, depending on heat of fire, and remove using tongs. The cooked banana mixture can be scooped from its peel and placed in between two graham cracker halves or simply enjoyed with a spoon.